|
Community Links |
Social Groups |
Pictures & Albums |
Members List |
Search Forums |
Advanced Search |
Go to Page... |
|
Thread Tools |
05-01-2016, 11:13 PM | #1 |
A Makeupless Clown
Join Date: Sep 2015
Location: Ohio
Posts: 5,270
|
Has anyone ever tried using dye with some Oatey clear PVC/ABS cleaner to recolor modern-era Joe toys (figures and/or vehicles)? Would the PVC cleaner just wreck the plastic or could it survive, but recolored as happens with PVC pipes? It seems like it should work (albeit with limitations - you are never going to turn a black part white this way or anything). Unless the grade of plastic for the toys is just way lower than that of pipes to the point where it just melts or something. Hmmm...
The main reason I don't do anything more than kit-bash is that, even if my painting skills were tight enough, I don't want the paint coming off when my kids play with the stuff. If I can make dye sink in and stick the way that purple cleaner's dye sticks to PVC pipes then that could really open up some options for me... Does anyone have any insight on this? Has it been done? Have you tried it yourself?
__________________
Torso Adapters and Alternate Neck Pegs for MTF and BFS Figures Reproduction Vehicle Parts 3d-Printed Parts Gallery My BST Thread | My Feedback Thread | My Shapeways 3d Print Shop (1/18 scale creations) |
05-01-2016, 11:21 PM | #2 |
Iron Grenadier
Join Date: Jul 2009
Location: Kansas City
Posts: 966
|
I would love to have something that work exactly as you describe. I use RIT dye and it will sometimes dye the joints to a color that is close enough so when the paint inevitably chips off, it's negligible. I wish there was something that worked better.
|
05-02-2016, 12:01 AM | #3 |
Hisstank.Com General
Join Date: Apr 2007
Location: Euless, Texas
Posts: 8,842
|
I know people have used dye on figures before. Mostly black and dark blue.. so it really all depends on what color the figure is originally on how well the dye sticks. Like you said, you won't be able to dye something white, unless it is already a light color, but darker colors seem to work ok.
__________________
My Feedback: http://www.hisstank.com/forum/buy-se...99-magick.html My B/S/T List: http://www.hisstank.com/forum/g-i-jo...sive-list.html |
05-02-2016, 12:45 AM | #4 |
A Makeupless Clown
Join Date: Sep 2015
Location: Ohio
Posts: 5,270
|
Quote:
I know people have used dye on figures before. Mostly black and dark blue.. so it really all depends on what color the figure is originally on how well the dye sticks. Like you said, you won't be able to dye something white, unless it is already a light color, but darker colors seem to work ok.
So my question is deeper than just dye. The way PVC cleaner (the purple type required for building inspections to pass) works, the dye penetrates and doesn't rub off or wear down. You can write your name with it if you want because it penetrates and stays instantly. No soaking or heating needed. The color becomes part of the plastic. If that could be harnessed for customs, it would be like doing a watercolor painting on a figure/vehicle instead of on paper. You could stencil on sigils, text, or whatever you want or hand-paint color right where you need it. Imagine being able to lay down a stencil on a vehicle body panel, swipe a damp cloth across it, pull the stencil right back off, and have the design just bond the color into the plastic. Hell, with the right stenciling you could do away with a lot of sticker sheet work, too. It's exciting to think of what could be done with such a method....IF it's possible, and if it works the way I imagine it working. The only questions in my mind are 1) if the plastic will remain undamaged rather than just flat out melt, and 2) if the plastic will hold dye the way PVC pipe does. If the answers to both are "yes" then I will probably start doing some serious customizing for my kids. I just need to know if anyone has done it...and if so, the answers to those two questions.
__________________
Torso Adapters and Alternate Neck Pegs for MTF and BFS Figures Reproduction Vehicle Parts 3d-Printed Parts Gallery My BST Thread | My Feedback Thread | My Shapeways 3d Print Shop (1/18 scale creations) |
05-02-2016, 02:19 AM | #5 |
Hisstank.Com General
Join Date: Apr 2007
Location: Euless, Texas
Posts: 8,842
|
Ah.. I gotcha. I doubt anyone has tried this. Or at least I haven't ever seen this broughtup on any of the forums. So my suggestion.. buyor tradefor a test figure and giveit a try and see what happens. Lol
__________________
My Feedback: http://www.hisstank.com/forum/buy-se...99-magick.html My B/S/T List: http://www.hisstank.com/forum/g-i-jo...sive-list.html |
05-02-2016, 09:58 PM | #6 |
Secret Ninja In My Pants
Join Date: Mar 2012
Location: Perth, Western Australia
Posts: 1,111
|
Just from my own experience with an X-acto, there are some significant differences in the density and durability of the plastics used in making one figure. I reckon a test run is what is definitely needed, and you'd change all our lives if you posted the results!
On a separate note, I wanted a solution to the custom paintjob durability issue as well, for the exact same reasons. I wanted to play with them, the kids wanted to play with them... hell, just posing them needs some level of protection. I asked around for a while and mostly heard of Tamiya's clearcoat and Mod Podge (a glue) but my whole world changed when my wife mixed up some matte/gloss clearcoat nail polish for me. I put 2-3 coats on the joints and hard-wear areas and 1-2 coats on the rest, leaving it to touch dry after about 10 minutes and cured overnight, and it's AMAZING. I happily make and paint all sorts of customs now and it takes a serious knock to chip the paint now. If applied with care (brushed on too hard takes the paint off!) and left to cure properly (at least a half hour) then you can put it on about anything Joe-related and it'll protect it. Good luck mate, and be sure and let us know how you come along.
__________________
Quote:
Originally Posted by My Wife
When you said you'd bring some toys to the bedroom, this is NOT what I expected.
|
05-02-2016, 10:13 PM | #7 |
Hisstank.Com General
Join Date: Jun 2012
Location: Cobra Island & Massachusetts
Posts: 6,378
|
Speaking from experience when it comes to pvc cleaner, Don't use it! both Clear or purple destroys figures. It actually melts the 1st layer of plastic, doesn't matter how much you attempt to thin it down. Rit dye works well on figures prior to POC after POC what ever was changed in the plastics doesn't accept the dye well and you need to add acetone to soften the plastic in order to get it to accept the dye. Softer peices like arms and lower legs dye 1st while torso's take forever. I had a Blowtorch in dye for a week and the torso only darkend slightly.
__________________
Find me on Instagram https://www.instagram.com/p/CLfj0G2A...d=pgwcw5tzs78m truejoefan's B/S/T Thread TJF's ARAH B-S-T http://www.hisstank.com/forum/g-i-jo...rah-b-s-t.html | truejoefan's Feedback Thread Last edited by truejoefan; 05-02-2016 at 10:15 PM.. |
05-03-2016, 12:52 AM | #8 |
A Makeupless Clown
Join Date: Sep 2015
Location: Ohio
Posts: 5,270
|
Quote:
Speaking from experience when it comes to pvc cleaner, Don't use it! both Clear or purple destroys figures. It actually melts the 1st layer of plastic, doesn't matter how much you attempt to thin it down. Rit dye works well on figures prior to POC after POC what ever was changed in the plastics doesn't accept the dye well and you need to add acetone to soften the plastic in order to get it to accept the dye. Softer peices like arms and lower legs dye 1st while torso's take forever. I had a Blowtorch in dye for a week and the torso only darkend slightly.
__________________
Torso Adapters and Alternate Neck Pegs for MTF and BFS Figures Reproduction Vehicle Parts 3d-Printed Parts Gallery My BST Thread | My Feedback Thread | My Shapeways 3d Print Shop (1/18 scale creations) |
05-19-2016, 11:39 AM | #9 |
A Makeupless Clown
Join Date: Sep 2015
Location: Ohio
Posts: 5,270
|
OK, since TFJ never answered me about how he melted his figure (
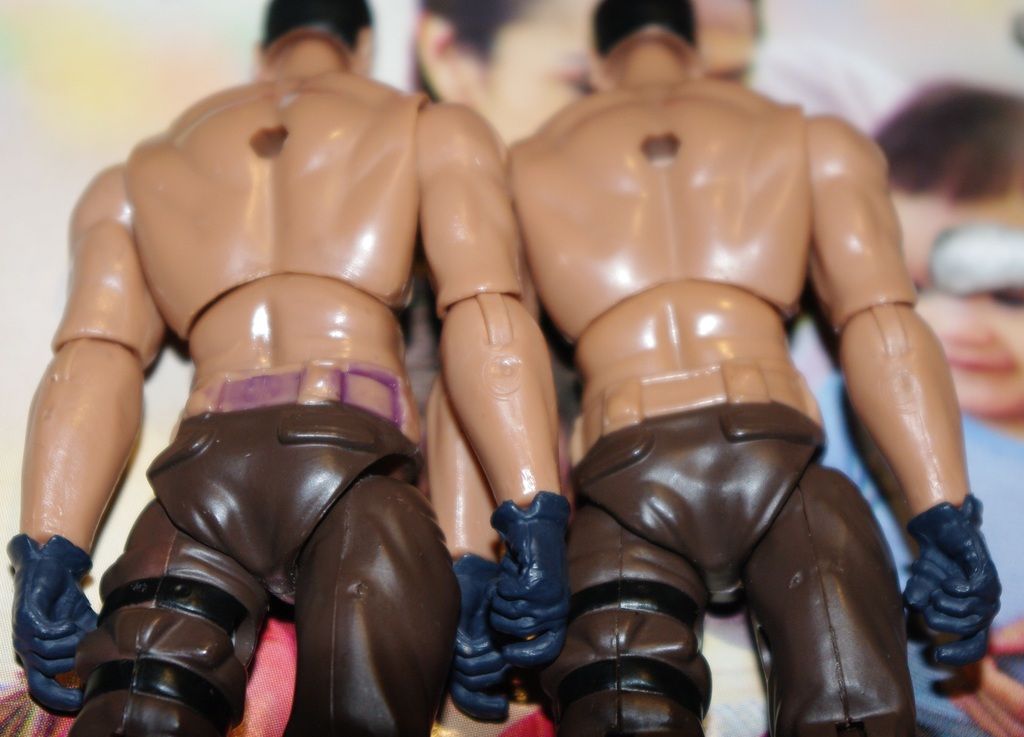
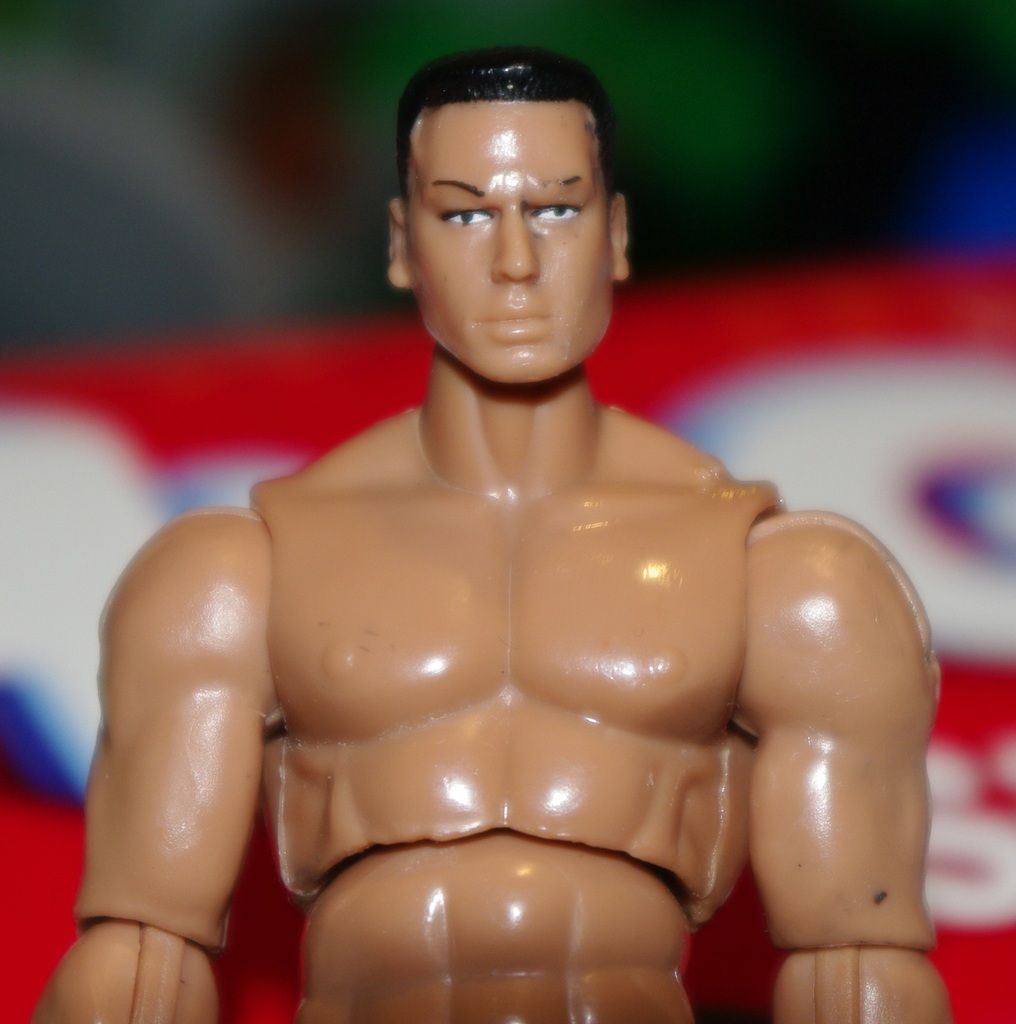
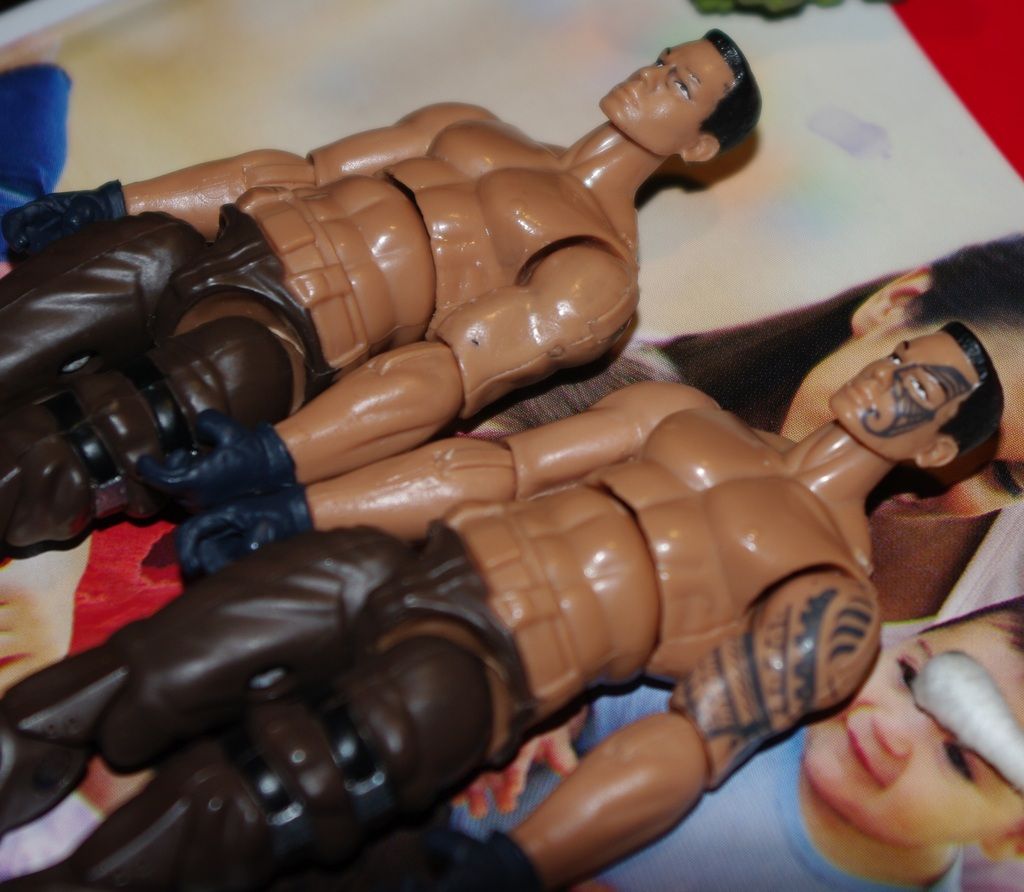
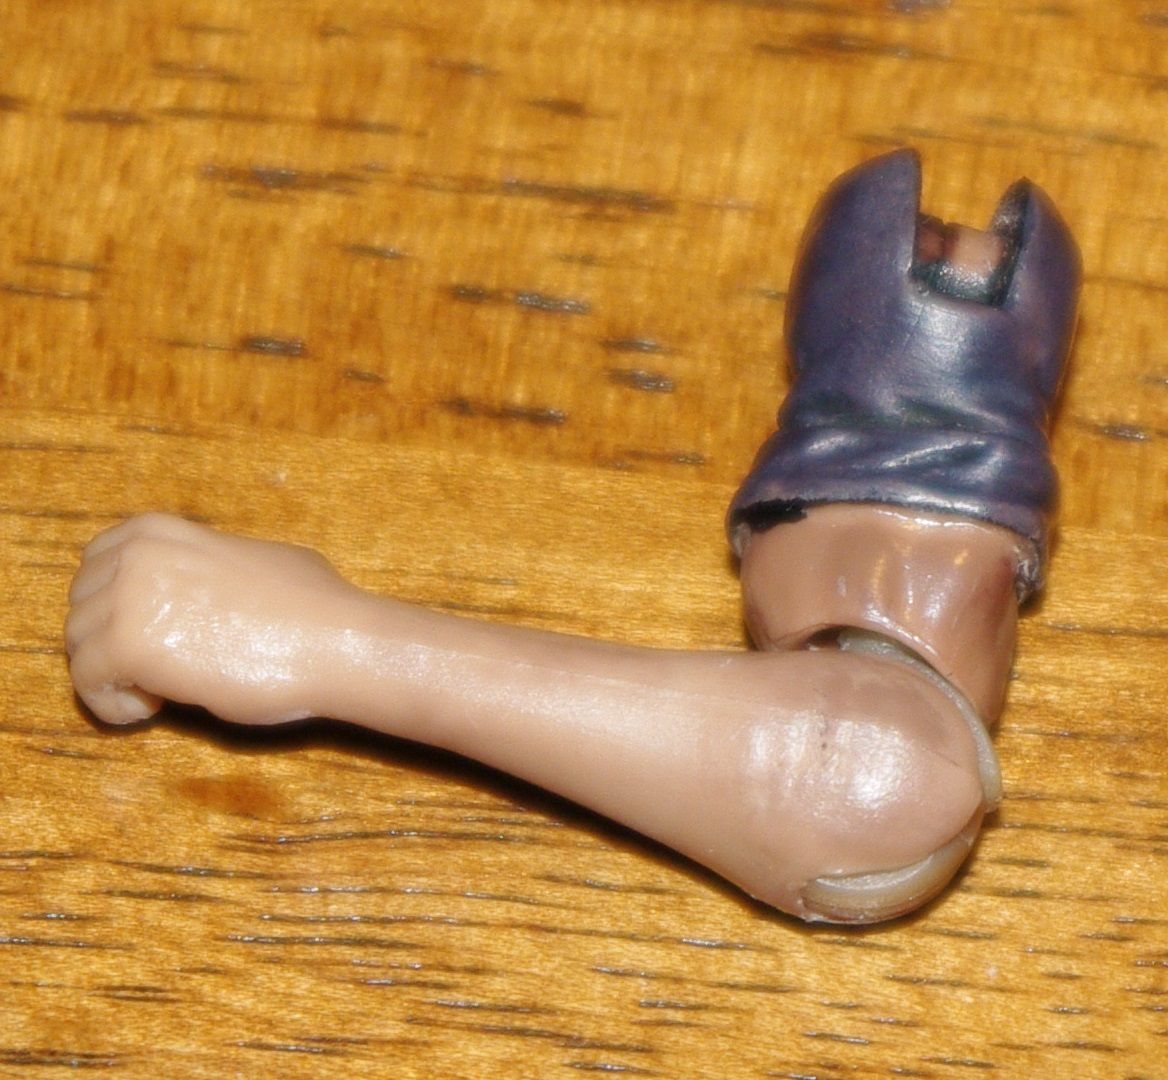
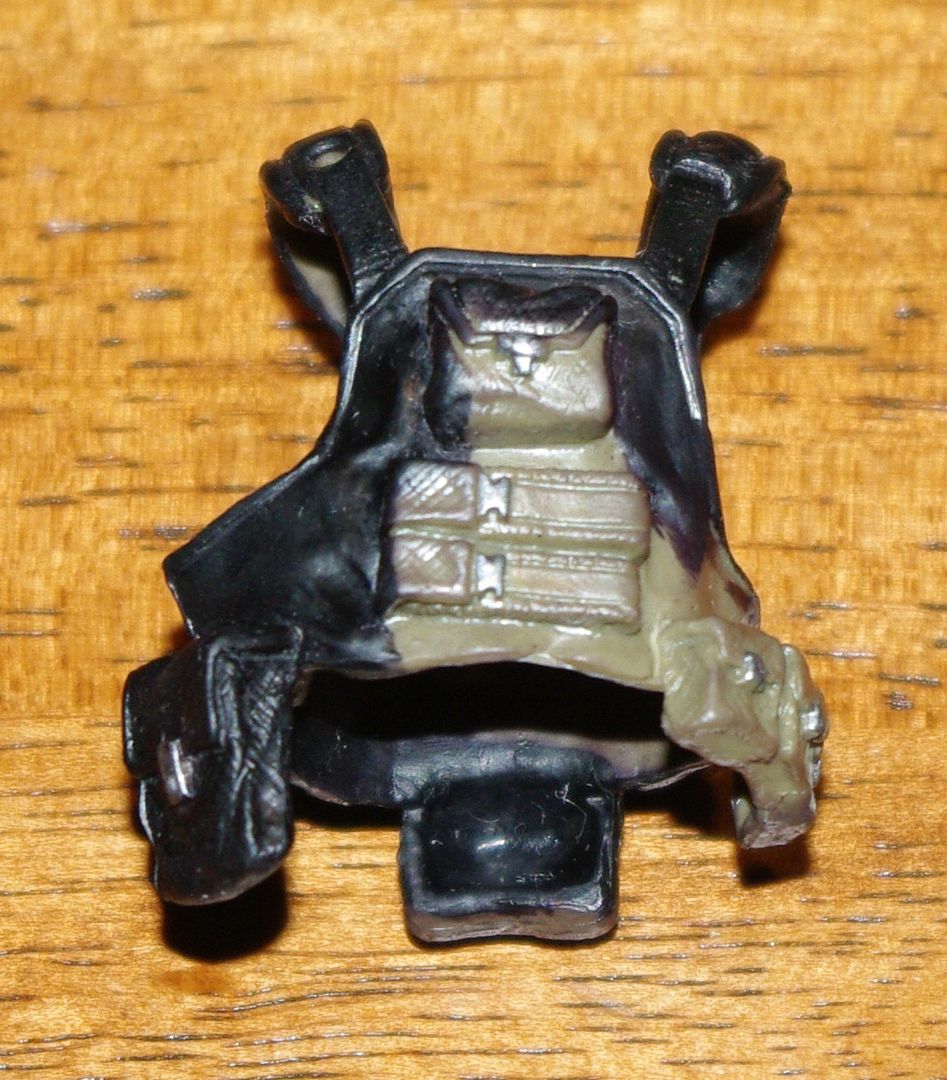
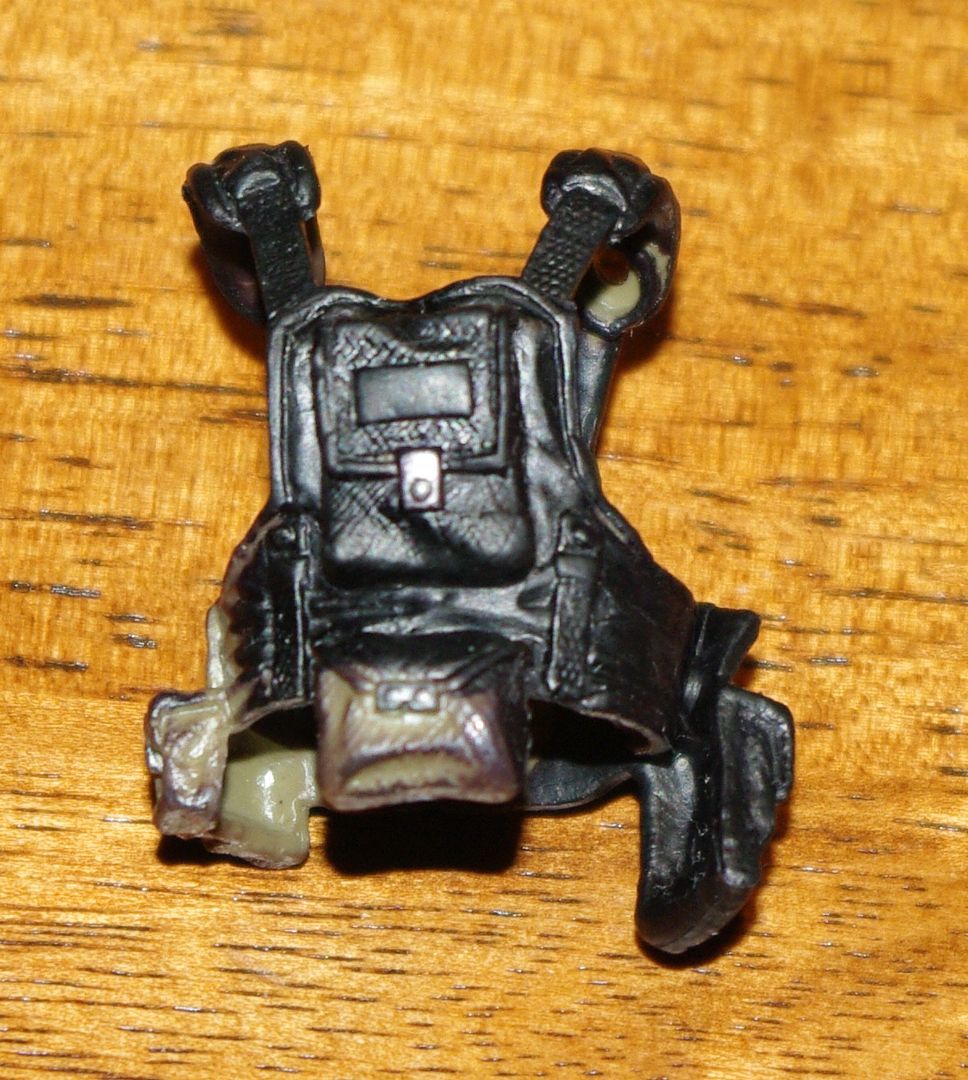
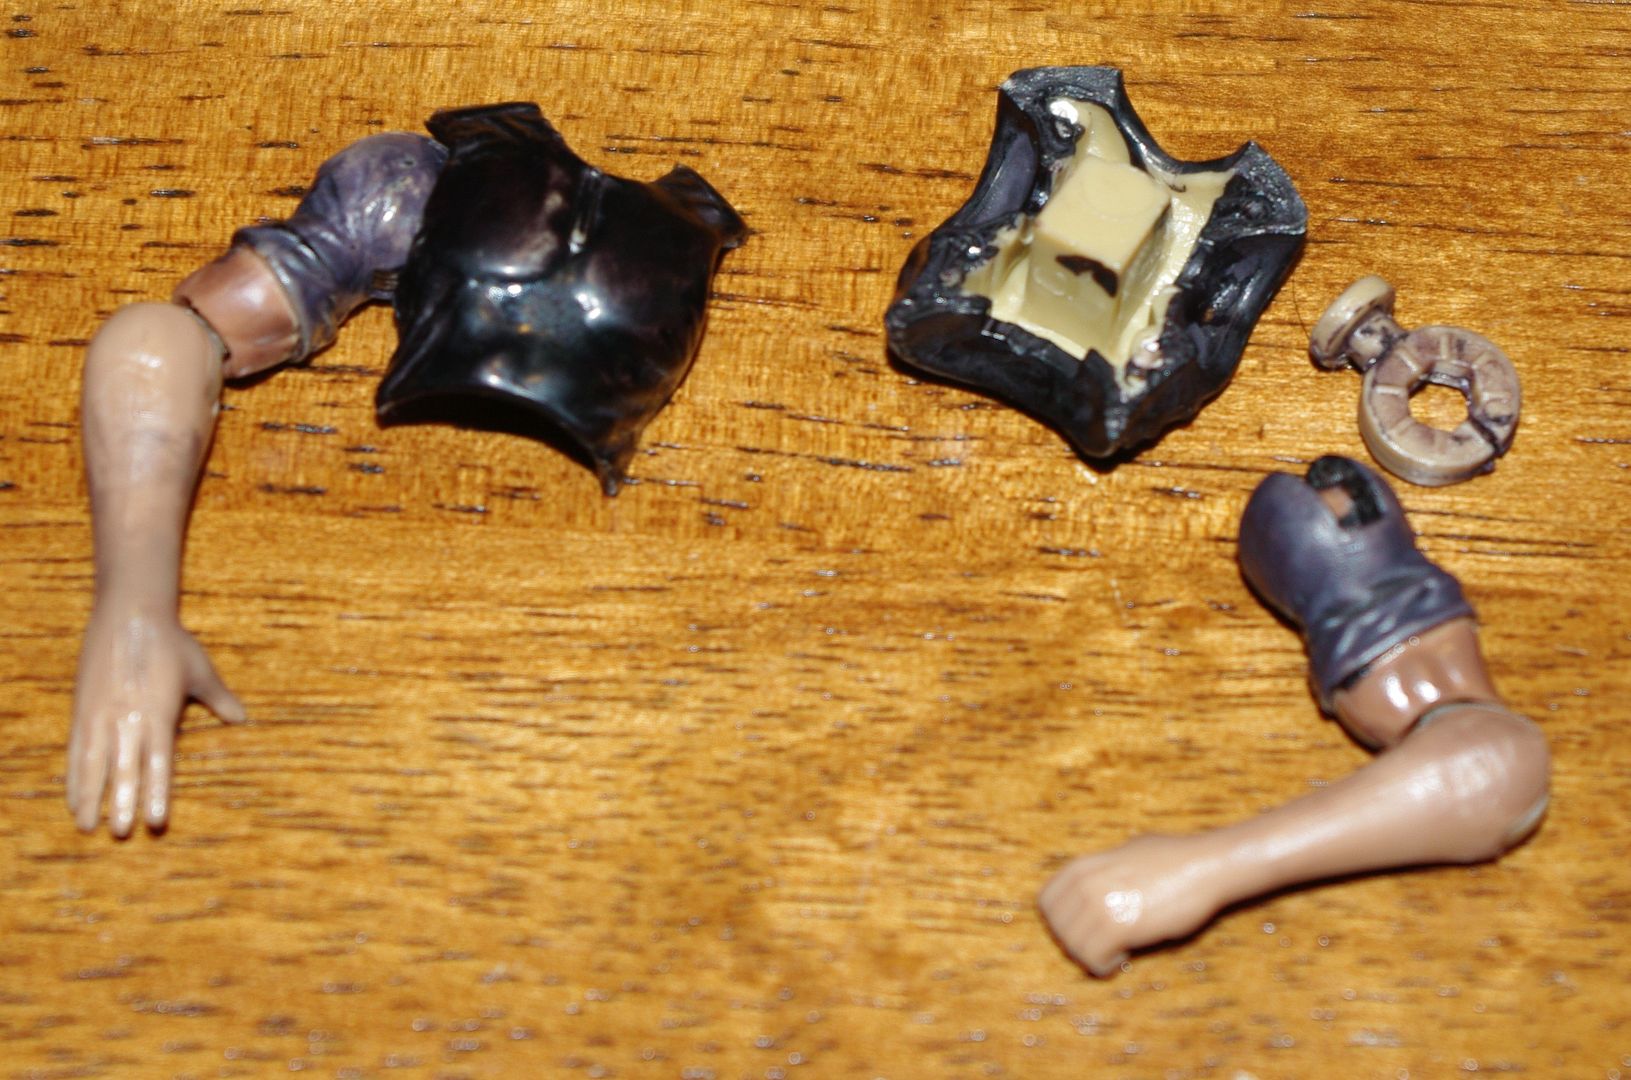
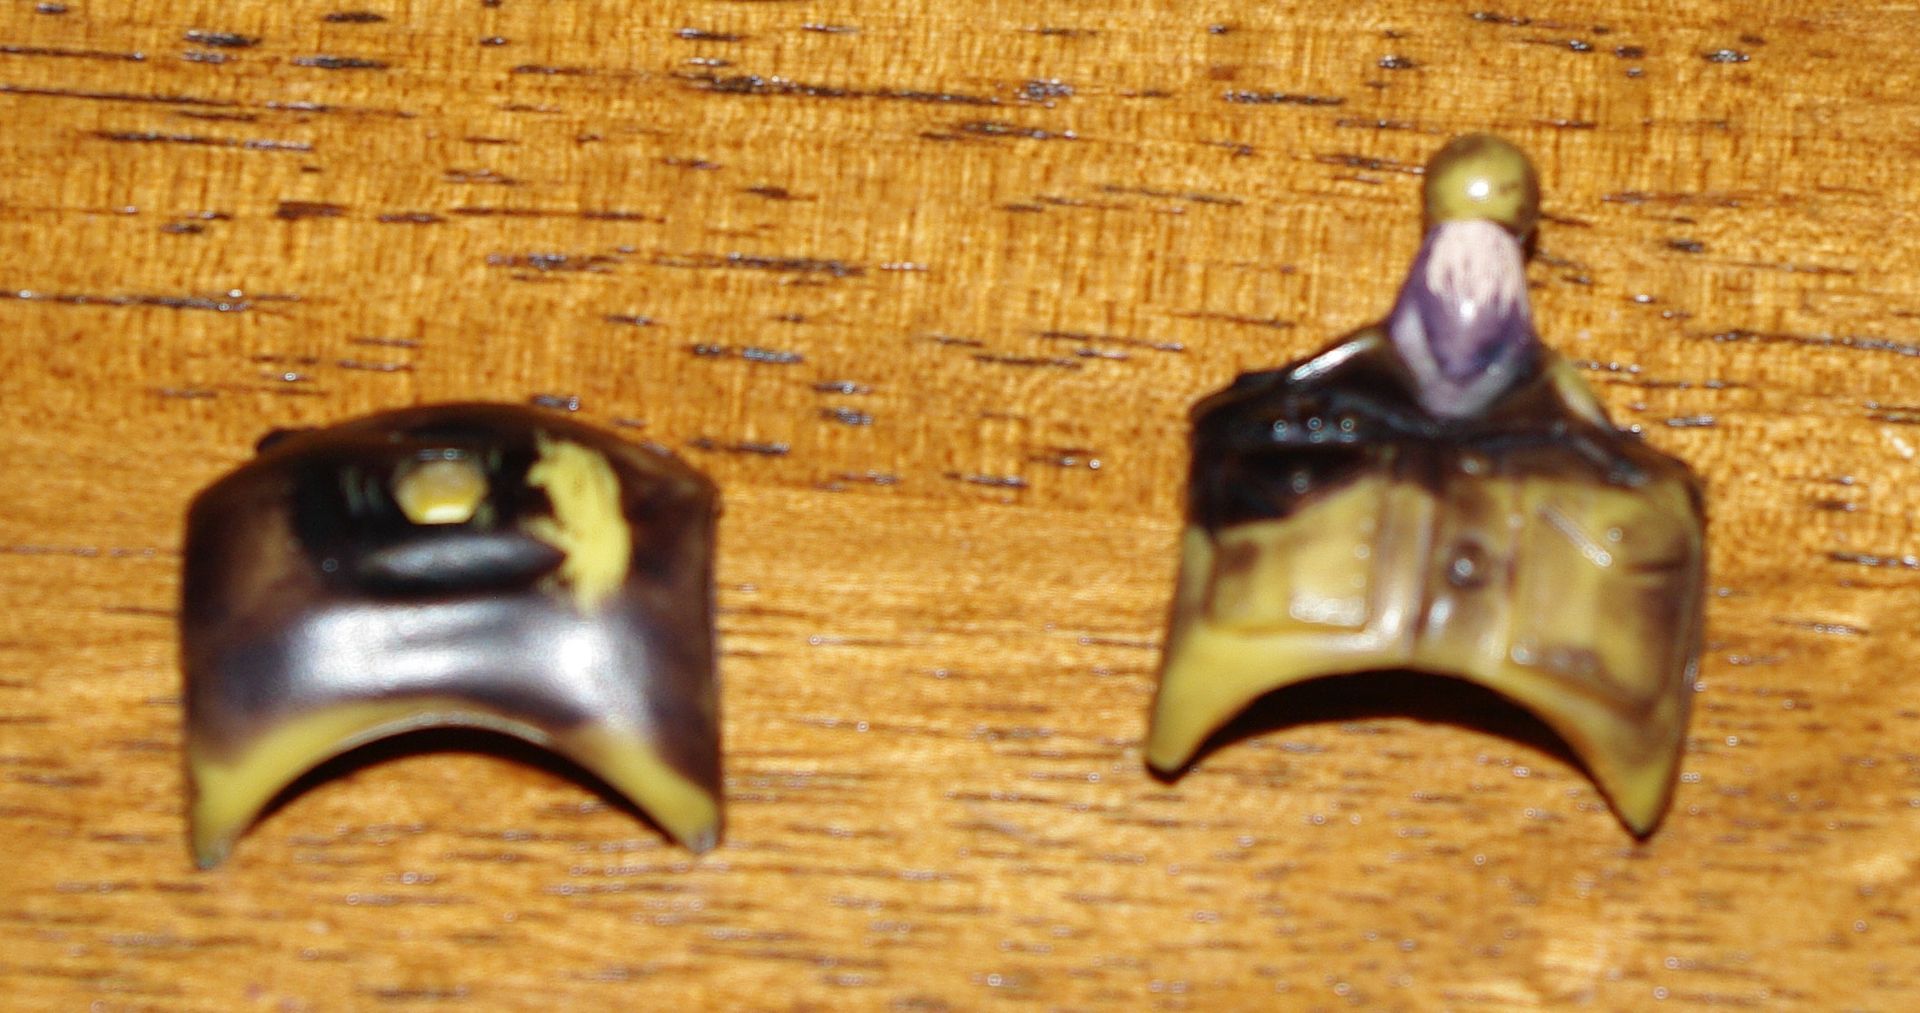
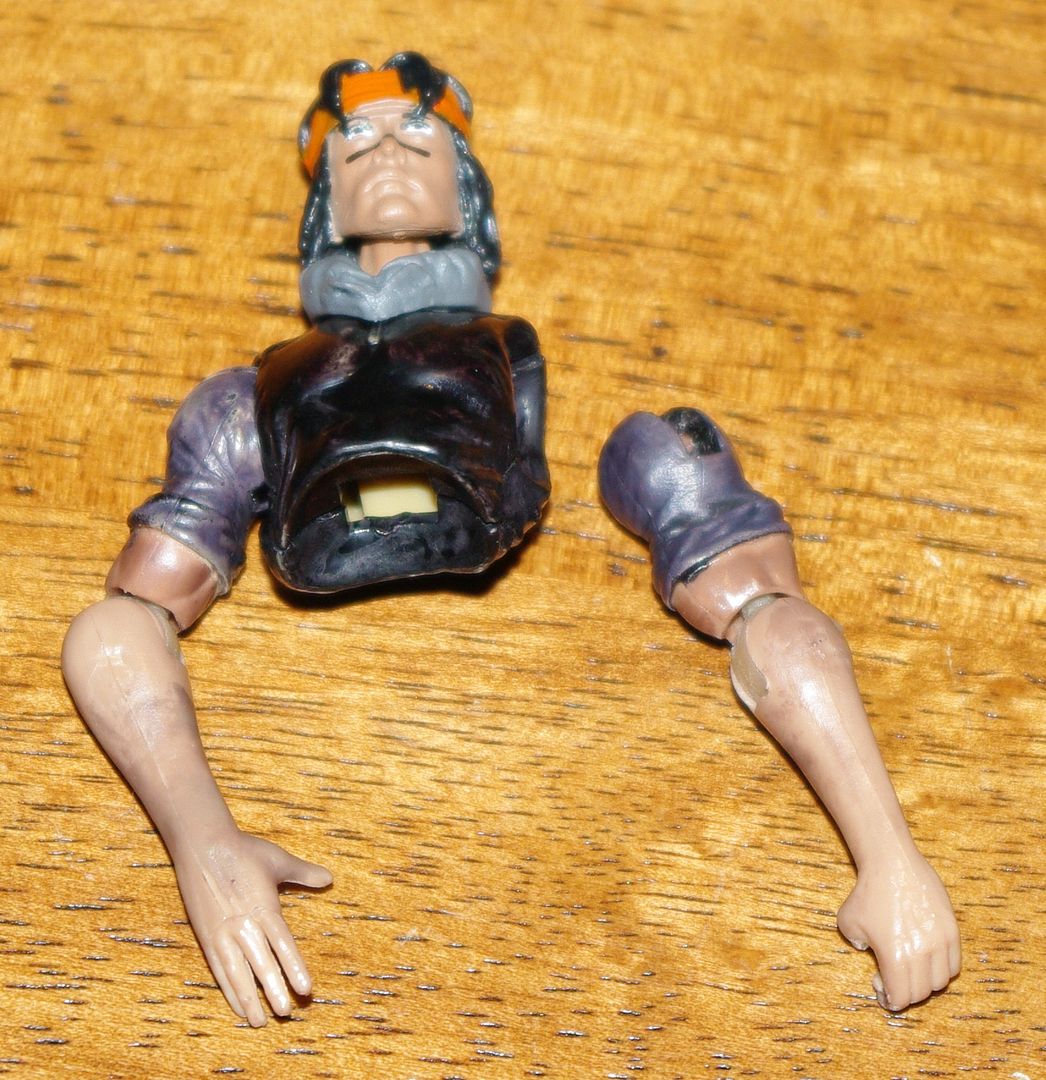
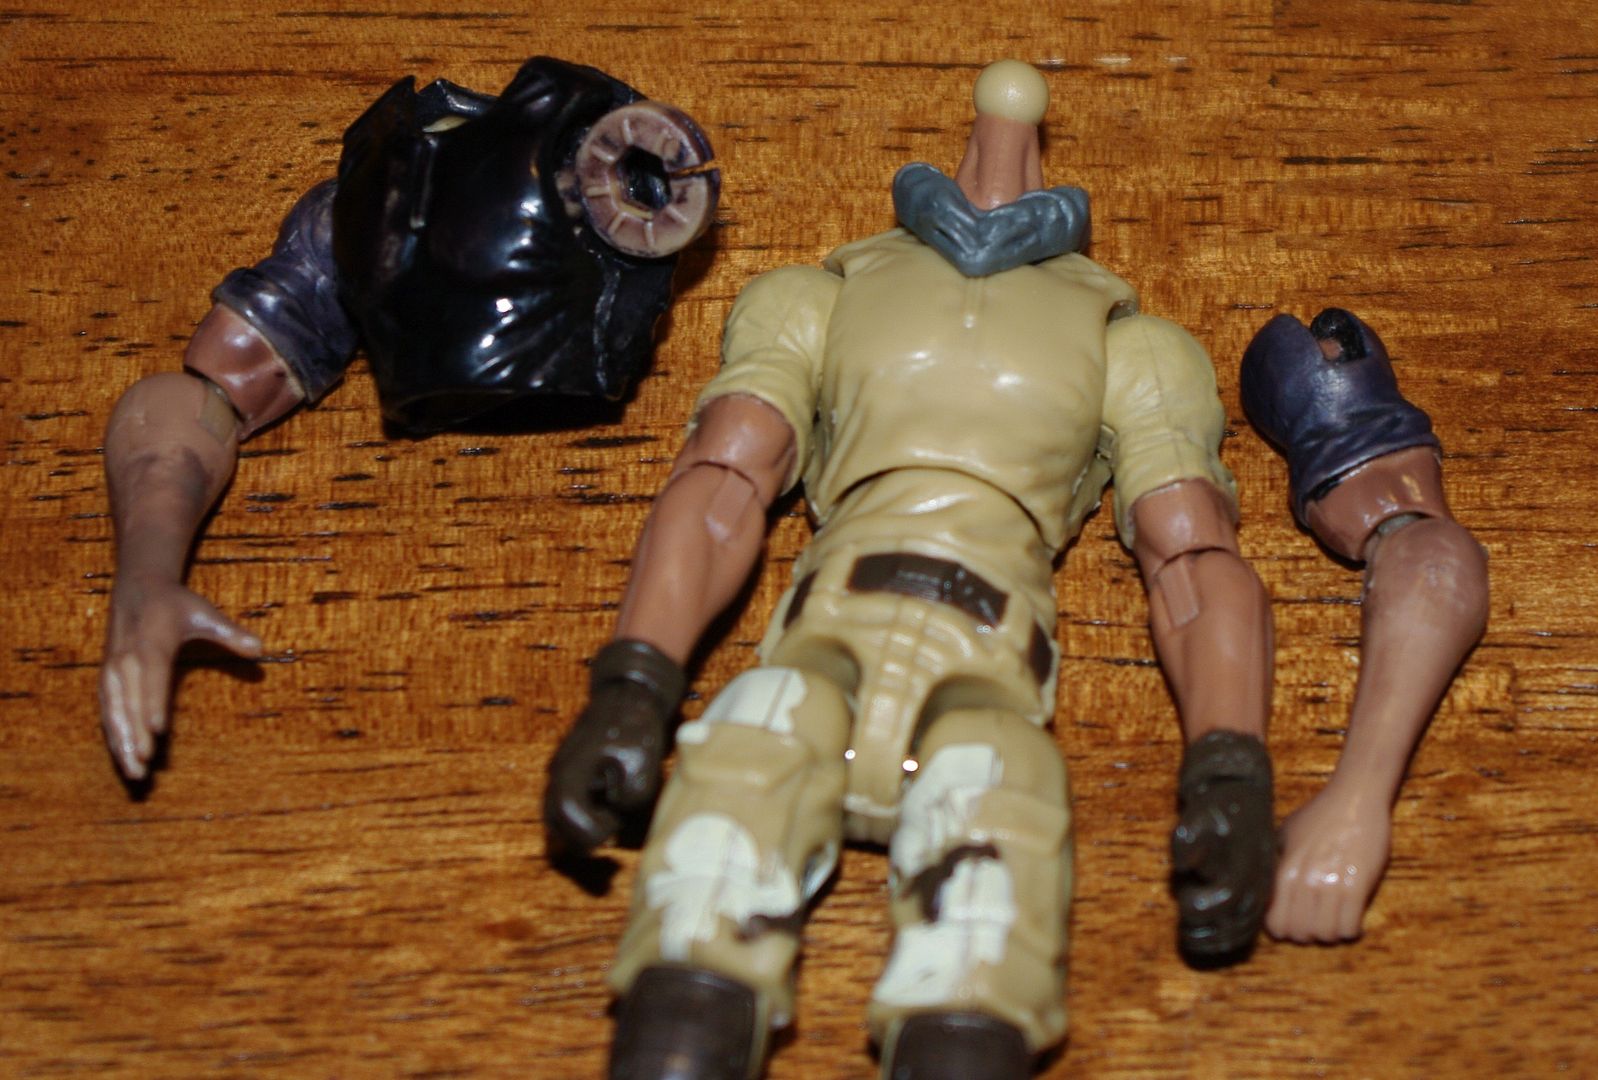
) I decided to take a leap and try a brush-on application and see what happens. I used a spare Jurassic Park figure. I figured he was a good candidate since he is basically all flesh-tone, he's a duplicate in my box-o-figures, and his torso is completely unpainted.
So, I tried painting the back of his belt (which is unpainted flesh-tone) using the standard purple-dyed Oatey cleaner. Well, the results were about what I had in mind as far as applying the color goes. The result was not as dark as I had hoped, but that might have a lot to do with the fairly dilute dye in the Oatey cleaner. The only thing that threw me for a loop was that the dye looked wet even when thoroughly dried. I hadn't anticipated that. In the photo below, the center section was done with a small amount on the q-tip I was using and was my very first touch of the stuff on the figure. It was kind of like dry-brushing I guess. I did another fairly dry pass on it before taking the picture, so what you see there is actually two passes on it. The other section I colored (the one that looks like a wash) was done with a pretty saturated q-tip and only one pass with it. The dye settled into the crevices (as you would expect, just like a wash). TJF is right that this cleaner DOES melt the figure's plastic but with this application method I only had that problem when I scrubbed the body more than a bit with the q-tip. Parts of the q-tip fibers started to stick to the figure and pull out of the q-tip bundle. That was the whole extent of the "melting" I experienced and once I backed off of the area for a while I was able to come back to it. So it looks like it softens that plastic rather quickly, but then dissipates. Just DON'T submerge the piece, because I imagine you'd have a puddle of slag rather than a figure after a very short time. Even so, I only encountered this melting on the "hard" plastic used on the torso/waist. I actually tried to replicate it on the arms and head and it just never happened. I was (intentionally) pretty careless when removing the tattoo from the left arm and the paint slop from the bottom of the chin but nothing ever happened in those spots. You can be much rougher on those parts, it seems. I never did try anything on the legs but I would assume they are the same plastic as the arms. Here is a side-by-side comparison with an "untouched" version of this figure, so you can see the color and gloss changes in the belt area: Just for fun, I opened up the clear Oatey cleaner I have and brushed some on just the left half of the figure's chest to see what it would look like. As you might expect, he now looks like a sweaty mess on that side (the picture below still doesn't quite capture the way it looks in person, but with my lighting this is the best shot I could get): In this case, on this figure at least, it did NOT have the same glossing effect on the "soft" plastic in the arms and head. It did a wonderful job of removing paint apps which allowed me to clean off the aforementioned factory paint blobs on the figure's chin as well as removing the tribal tattoo from the arm and face (I got too close to the left eyebrow on the very last pass trying to clean the side of the nose and screwed up his eyebrow on that side...bummer...so I left some slop around his left eye socket since I didn't have time to do a careful job just now). I also tried a couple of "coats" of coloring on the inside of his web gear using the purple Oatey. It's hard to see in the photos, but it really does layer about like water color. So, bottom line: It looks like it works, but has the side effect of altering the finish on whatever plastic type the hard/core body components are made out of. You might still have to expect to hit your piece with dull coat on those areas. Color-wise, it works a lot like painting with watercolor, and will possibly take MANY coats - or a lot more saturated mix than what comes in the can for the purple Oatey - to get a good, dark color to set it. I think you could use it to great effect as a wash (on unpainted parts, of course), and I imagine you could change a Caucasian figure into whatever darker tone of skin you would like with this stuff if you have the right dye to do it. HOWEVER, I did not try the purple Oatey on any of the soft plastics (head/arms/legs), so I don't currently have a sample of how the dye will take on those pieces. I didn't want to color the face or arms purple because I didn't want to trash the figure in case I get something useful out of this experimentation. If I get a chance to pick up some dyes and make some small batches of Oatey/dye mixes I will post back with my results. In the meantime, anyone with clear Oatey cleaner and some dyes on-hand can try it at home. I'd love to see what more-experienced customizers can do with some actual brushes rather than a q-tip. Since this stuff melts plastics, I imagine you will want to use a non-synthetic brush, of course. EDIT: I forgot to mention that after I packed up this JP figure for the day I also tried the clear Oatey on the forearm of a 50th Shipwreck to remove his tattoo and that worked wonderfully as well, with no glossing. I also took the red paint off of the left forearm of the Ronald McDonald Cobra Commander from that pack. So far so good there, too. I haven't stripped any paint from the hands or feet yet so I'll know a bit more about if/how it melts those parts once I get a chance to get back to it. Hopefully I'll find some time to monkey around with stripping the rest of the red off of him later today.
__________________
Torso Adapters and Alternate Neck Pegs for MTF and BFS Figures Reproduction Vehicle Parts 3d-Printed Parts Gallery My BST Thread | My Feedback Thread | My Shapeways 3d Print Shop (1/18 scale creations) Last edited by Zap Rowsdower; 05-19-2016 at 11:51 AM.. |
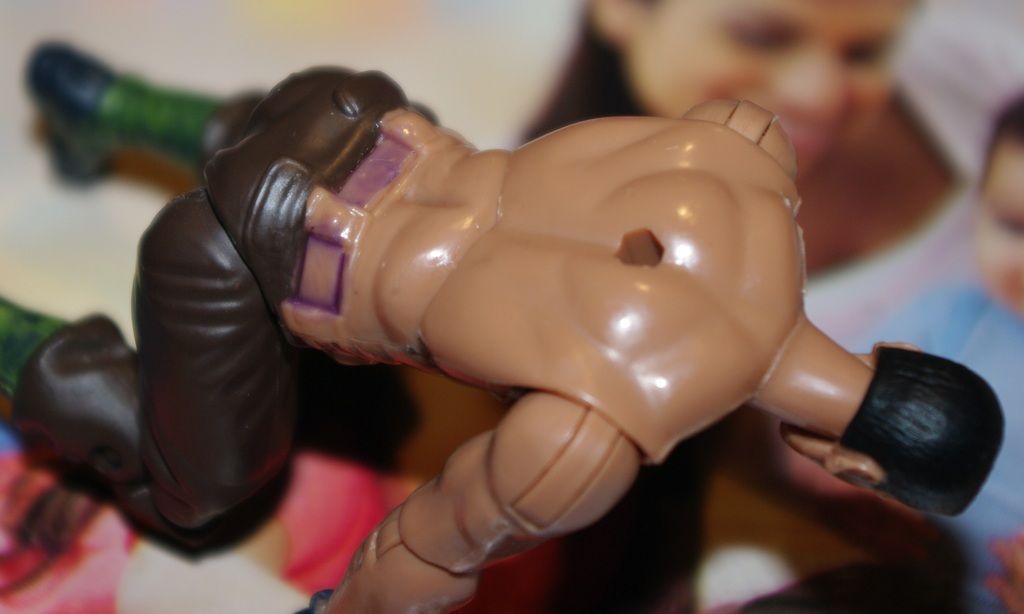
09-09-2016, 02:46 PM | #10 |
A Makeupless Clown
Join Date: Sep 2015
Location: Ohio
Posts: 5,270
|
It has been a long while since my last post in this thread, but earlier this week I got my first dye for testing with. Afraid an ordinary dye wouldn't take, I opted for a specialty dye for petroleum products.
I bought just black dye so I could see if there is any use even trying other colors. I did so knowing the shortcoming of the black dye (it is actually a VERY, VERY, VERY dark blue so if you use only a tiny amount it won't come out looking black). As such, I put WAY more dye into the Oatey cleaner that I otherwise would just to make sure the tests ended up black if they ever were going to. The results were striking. All of the "soft" plastics I tried the dye on took the dye quite well. This included upper arms, lower arms, and web gear. Short of using a sharp edge, the color CANNOT be removed. And when using the sharp edge, you are removing plastic, not just dye. That aspect is a 100% success for what I was trying to achieve. I got sloppy with the dye on my gloved hands so there is some staining on non-shirt parts as well - none of this coloration is removable with mechanical means without taking plastic off with it. Here is Spirit's sleeve, re-colored black (I "painted" the dye mixture right over the tan sleeve paint, which may have impacted the final color - it looks more charcoal in person but more indigo in the photos): And here is a partially re-colored bit of web gear (PoC/50th Hawk's vest - note that I was able to leave the silver clasps unaltered because I painted the dye on with a q-tip): The "hard" plastics were not so successful, or consistent. I blackened a 50th Spirit torso and the dye took pretty well to that. The color is a fantastic, dark black. The downside is that, despite washing up with dish soap and water, and despite buffing with paper towels, the torso pieces will still leave faint marks on white cardboard when I drag them across it firmly. So it passes the "white glove" test, but when rubbed on a paper surface there is still some transfer, which means it's not safe for rubbing up against other hard surfaces, either. Using a matte clear coat may resolve that problem, but I haven't tried that yet. Of far more concern was the result of trying to blacken a 25th Duke torso (the yellow-torso version). In that case, the dye did not take well at all. It was bleeding the dye back off horrendously when I picked it up to clean off, and when I washed and buffed the parts they were left with an uneven black clouding rather than really being re-colored. So some torsos can take the dye method pretty well (but not perfectly) and others don't take it at all, really. 50th Spirit: 25th Duke (note the neck and the back right shoulder where I was able to easily scrape the dye right back off without scraping off plastic): As for the arms pieces, the elbow and shoulder rings (the harder joint pieces) DO NOT hold the dye like the rest. You can pretty well buff it back off in short order. I haven't tried the superglue "shield" method yet to see if it can be locked in, but that's my one hope for it on those parts. Failing that, standard paints or other methods may be better and easier to do on those parts. For the heck of it, I used a Sharpie Pro marker and the superglue shield on this shoulder ring (and the photo was taken after a couple of dozen times rotating the ring in the joint, though you can't really see it from this angle...anyway, the joint is reasonably well protected from "paint" rub with the superglue): Now, it should be mentioned that the dye I bought stinks. It smells somewhat like diesel fuel. This odor has followed the dye into the figure parts and after three days sitting, they still smell. The odor is less potent than it was on day one, but it is still detectable from 6-8 inches away. I don't know if a more dilute usage of dye would cut the odor (because I used probably 4x the normal amount of dye to ensure a deep black outcome). I also don't know if letting these sit in sunlight for a few days would clear it up (it has been too cloudy lately to try). I am going to keep my eye (nose) on it and see if the odor finally fades entirely. I have also read that vacuum chambers can help pull odors out of plastics that are releasing odors, but I don't have one to test that out with in this case. If the odor goes away and if the torso can be sealed with clear coat then I think I might start digging into custom coloring, big time. I'll post back again if and when I take more steps...
__________________
Torso Adapters and Alternate Neck Pegs for MTF and BFS Figures Reproduction Vehicle Parts 3d-Printed Parts Gallery My BST Thread | My Feedback Thread | My Shapeways 3d Print Shop (1/18 scale creations) |
Similar Threads | ||||
Thread | Thread Starter | Forum | Replies | Last Post |
eBay Alternative....would you go? | CTGLinks | G.I. Joe on Ebay | 75 | 06-05-2011 12:17 AM |
Toy Customizer Customs Contest - Alternative Realities | Bamphalas | G.I. Joe Customs Contests | 12 | 05-07-2011 08:36 AM |
Possible e-bay alternative | Zartanman | General Discussion | 11 | 10-25-2009 02:14 PM |
Need an alternative | mikevoltz | G.I. Joe Toys Modern & General Discussion | 7 | 09-27-2009 02:22 AM |
Paypal Alternative | Kalimar | G.I. Joe General Discussion | 6 | 04-05-2009 11:38 PM |
|
|
Recent Off Topic Threads |
Marvel Universe 3.75" figures |
Hisstank Late Night thread... |
What song are you listening to? |
G.I. Joe March Madness 2024 Championship Battle Armor... |
Last Movie You Watched? |